

Vernazza with the nifty-fifty.
06 May 2018 Update: I’ve posted a review of Moment’s Interchangeable lens system here
I was lucky enough to be able to get my iPhone X before my vacation in Italy last November and was very excited to take it with me given what I’ve heard about the newer camera modules in the iPhone 8 Plus. Could this be the best pocket camera ever?
There have also been some exciting developments in Apps for photography. One of the reasons why I choose to use an iPhone these days is because their superior platform for developers. I won’t dive into the details but that is one of the reasons why iOS tend to attract the best developers and their apps tend to be consistently better at what they do than their Android counterparts.
Here are the apps that I used for the images in this review. I’ll start posting tutorials on how I used these for post-processing in the near future.
- Halide Camera
- Adobe Lightroom CC (You can get a CC subscription here)
- Darkroom
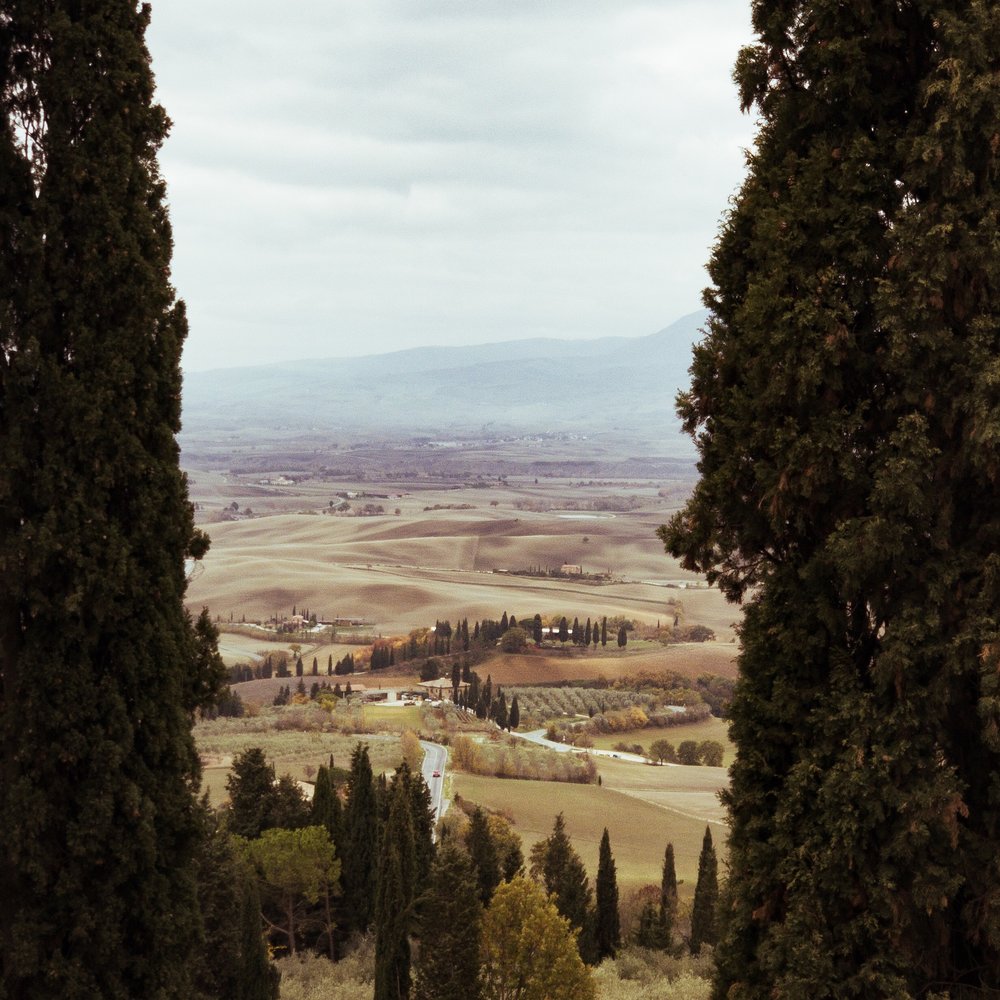
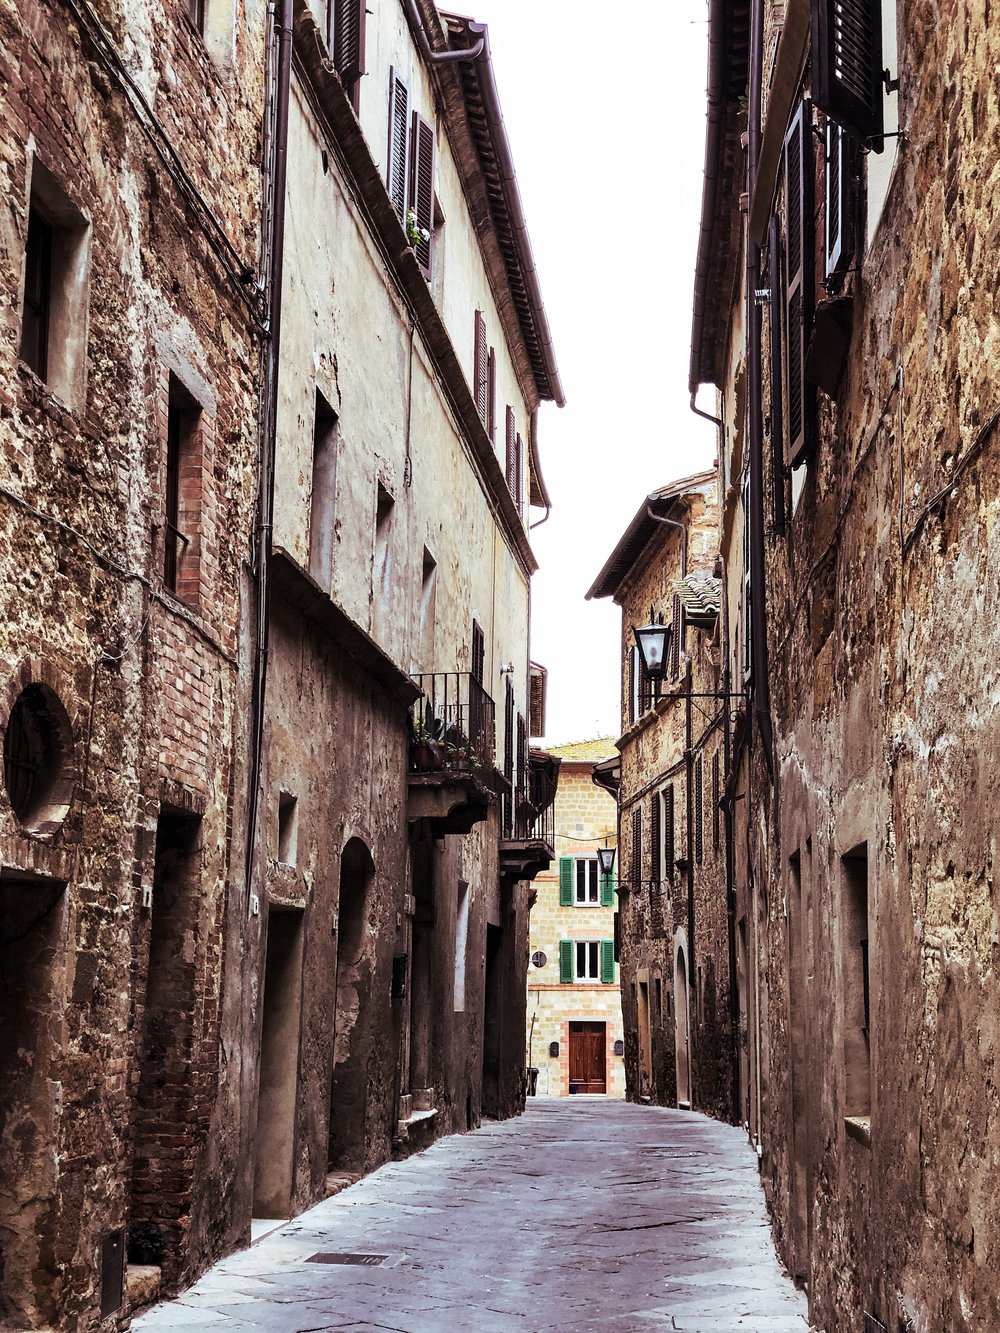
What defines the rolling hills of Tuscany can also act as a window to the rolling hills of Tuscany
All photos in this post have been shot, edited and uploaded on the iPhone X.
An end-to-end photography solution
We take it for granted these days, but it’s amazing when you step back and reflect that what you have in your pocket is a device capable of fulfilling the complete photography journey. From planning your shot, to shooting it, post-processing it, and then to sharing or printing it – it’s all right there at the palm of your hand.
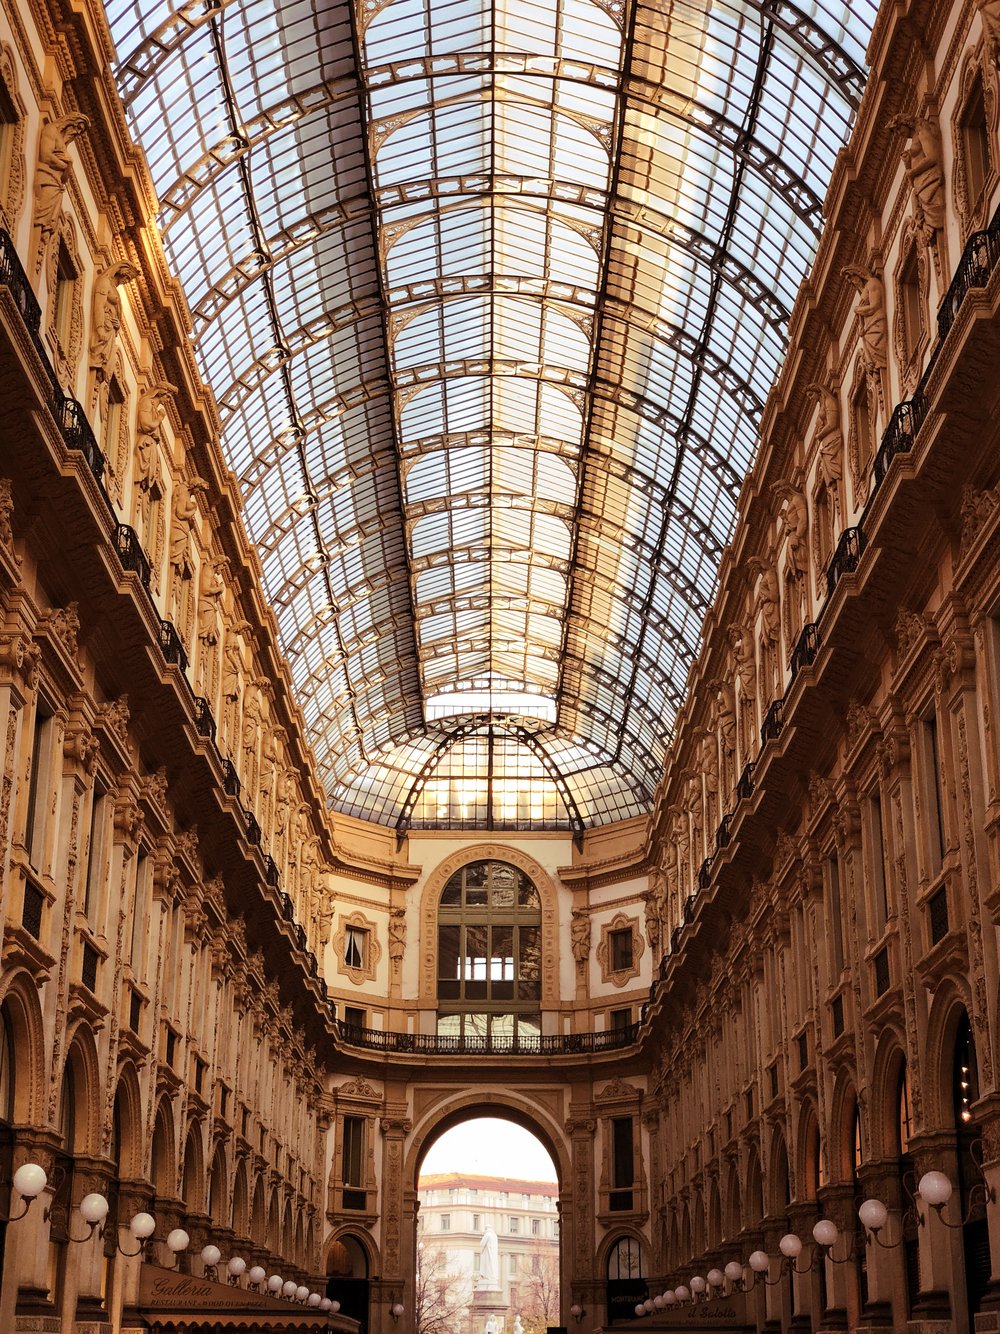
Milan – Shoot, edit and post while your better half is shopping.
Those deeper pixels really are deeper
In terms of image quality and sharpness, the iPhone X is a clear step up from the iPhone 7 Plus. Low-light performance also gains a clear improvement.

Low light in a dimly lit church.
Now, it’s not going to replace your Fujifilm X or Sony A series, but I was pleasantly surprised on more than one occasion on the types of shots I got just by pulling my smartphone out of my pocket. Take the sunrise shot of Manarola below for example. On previous generation phones, the town would have been a mess of water colors. Now we have some detail to work with.

Manarola Sunrise – One of those out of pocket moments.
Stabilised Nifty-Fifty in your pocket
The biggest difference you’ll get over the other dual lens iPhone models is that you get a stabilised 52mm F2.4 lens on the iPhone X versus a non-stabilised 56mm F2.8 lens on the iPhone 8 Plus and the iPhone 7 Plus.
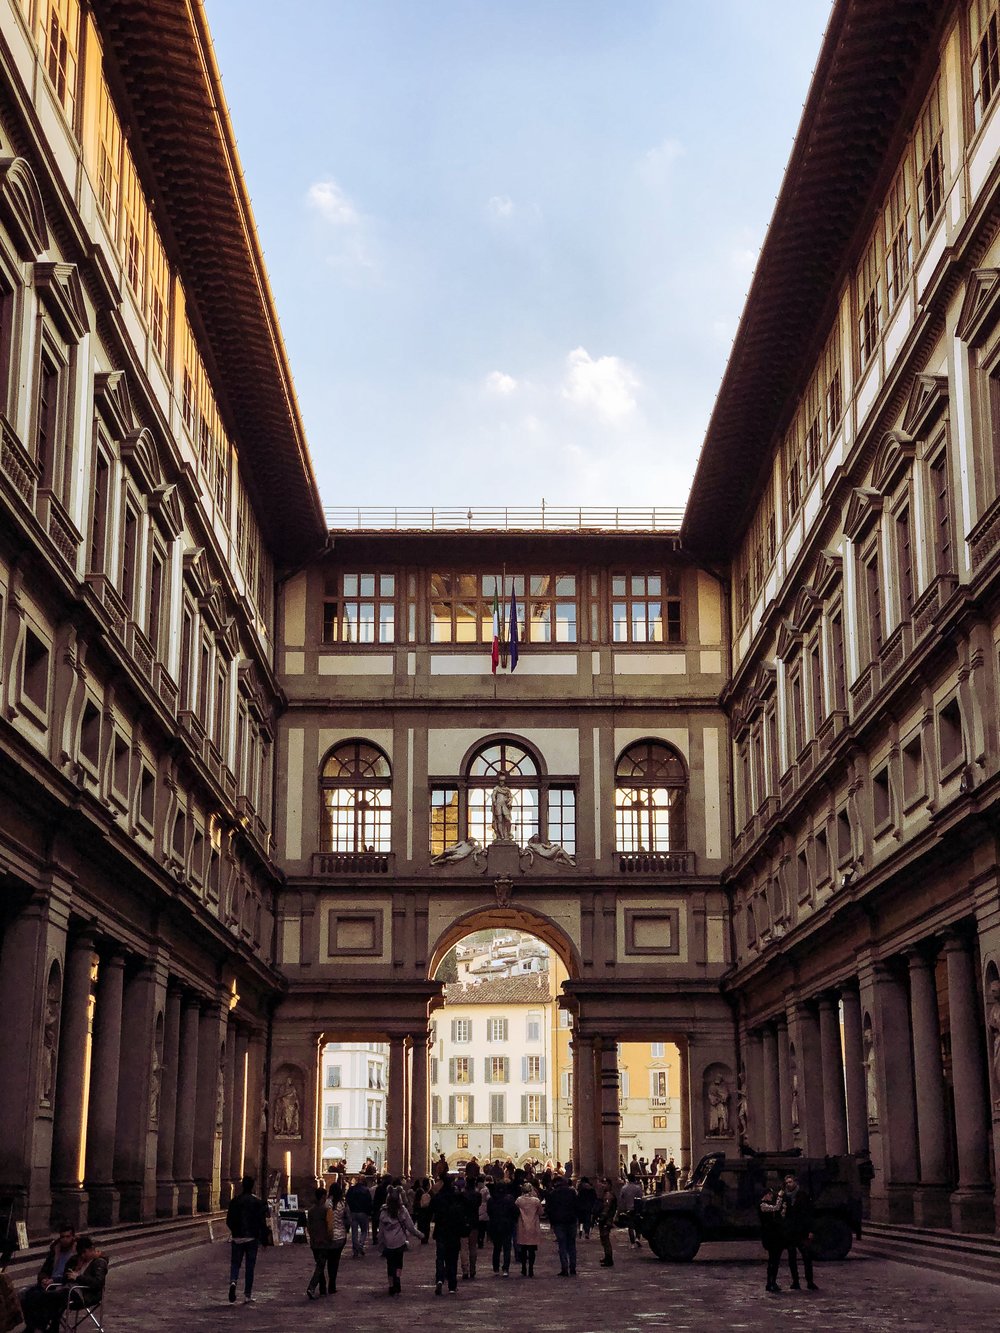
Uffizi with the nifti-fifti.
For me, there are three advantages here. The first is the wider aperture. The second is the stabilisation. The third is the wider focal length, which brings it closer to a nifty fifty.
I’ve always found the older 56mm lens on my iPhone 7 Plus to be a bit of a compromise and slightly too long. None of those are issues anymore and I find myself using the second lens a lot more.

Riomaggiore with the nifty-fifty
HDR all the time
Google’s 2016 Pixel models rightly cemented their position as the best phone cameras of their generation by applying sensible HDR to their photos.
Apple has always been conservative in this regard but rightly took the steps to make their photos more vibrant in this generation. This is the right move in my opinion. Most of the photos taken with a smartphone end up on Instagram or some other web platform these days. If I want a flat photo that’s extremely malleable in post processing, I would reach for my Fujifilm or Sony Cameras.

HDR is now enabled by default all the time, and the results show. Take a look at the Pano during sunset below. On previous iPhones, the town would have always been banished to the shadows if you exposed for the sunset. Now you get enough dynamic range to pull it out.

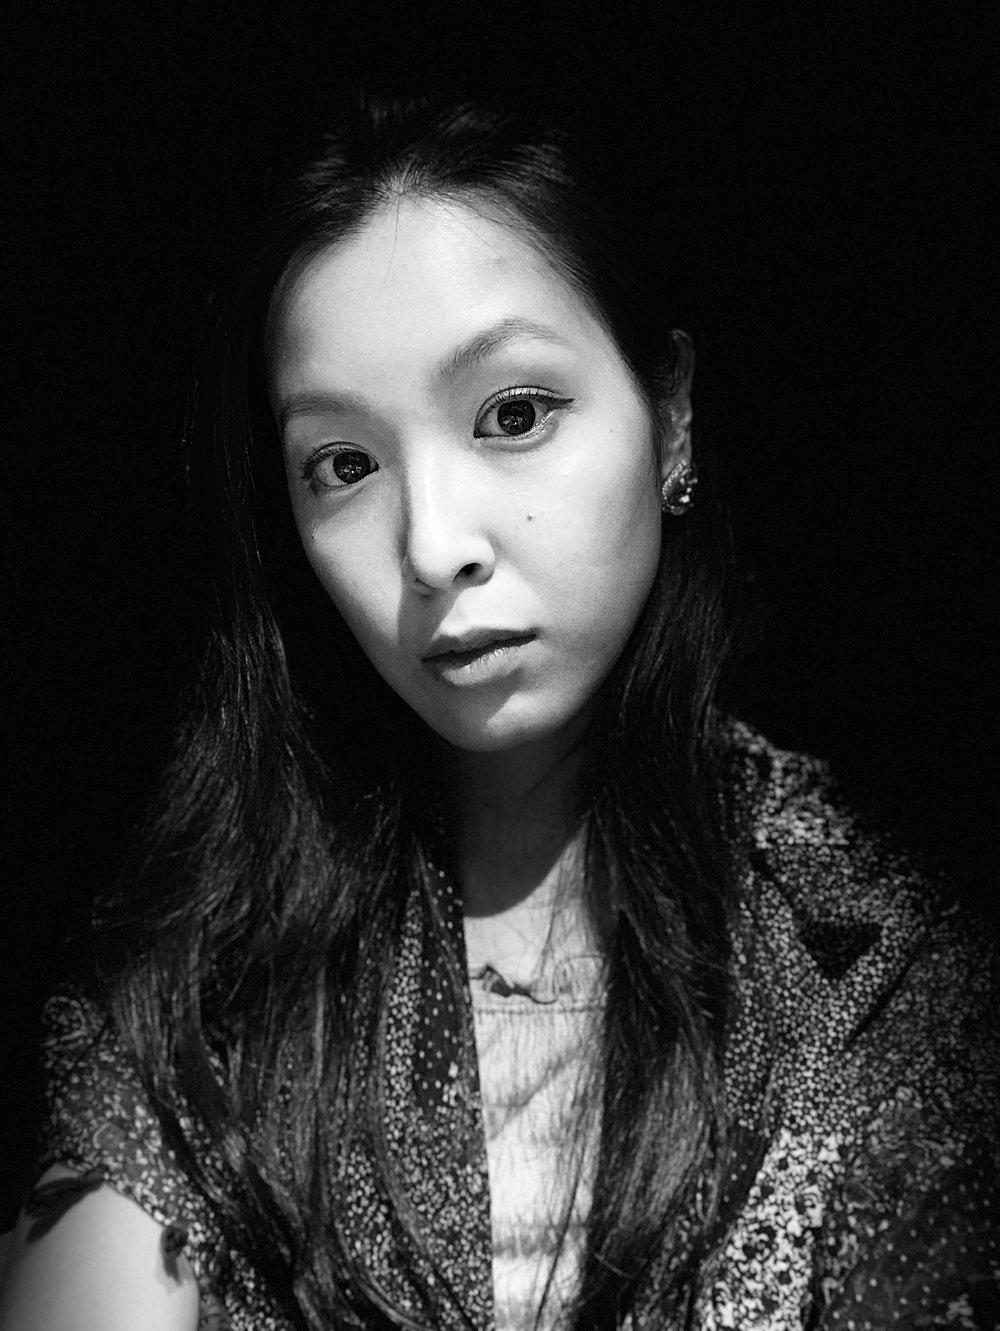
Front-facing portrait mode is pretty good
The true depth camera on the front of the iPhone X now enables you to apply a depth of field effect and apply some lighting conditions to your selfies. I’m no selfie expert so I find limited use for this. But put in the right hands (of my fiancée for example), the results are pretty good. I did get the “Subject is too bright” warning many times when our faces were front-lit by the sun though.
Some tips for photography on the iPhone X
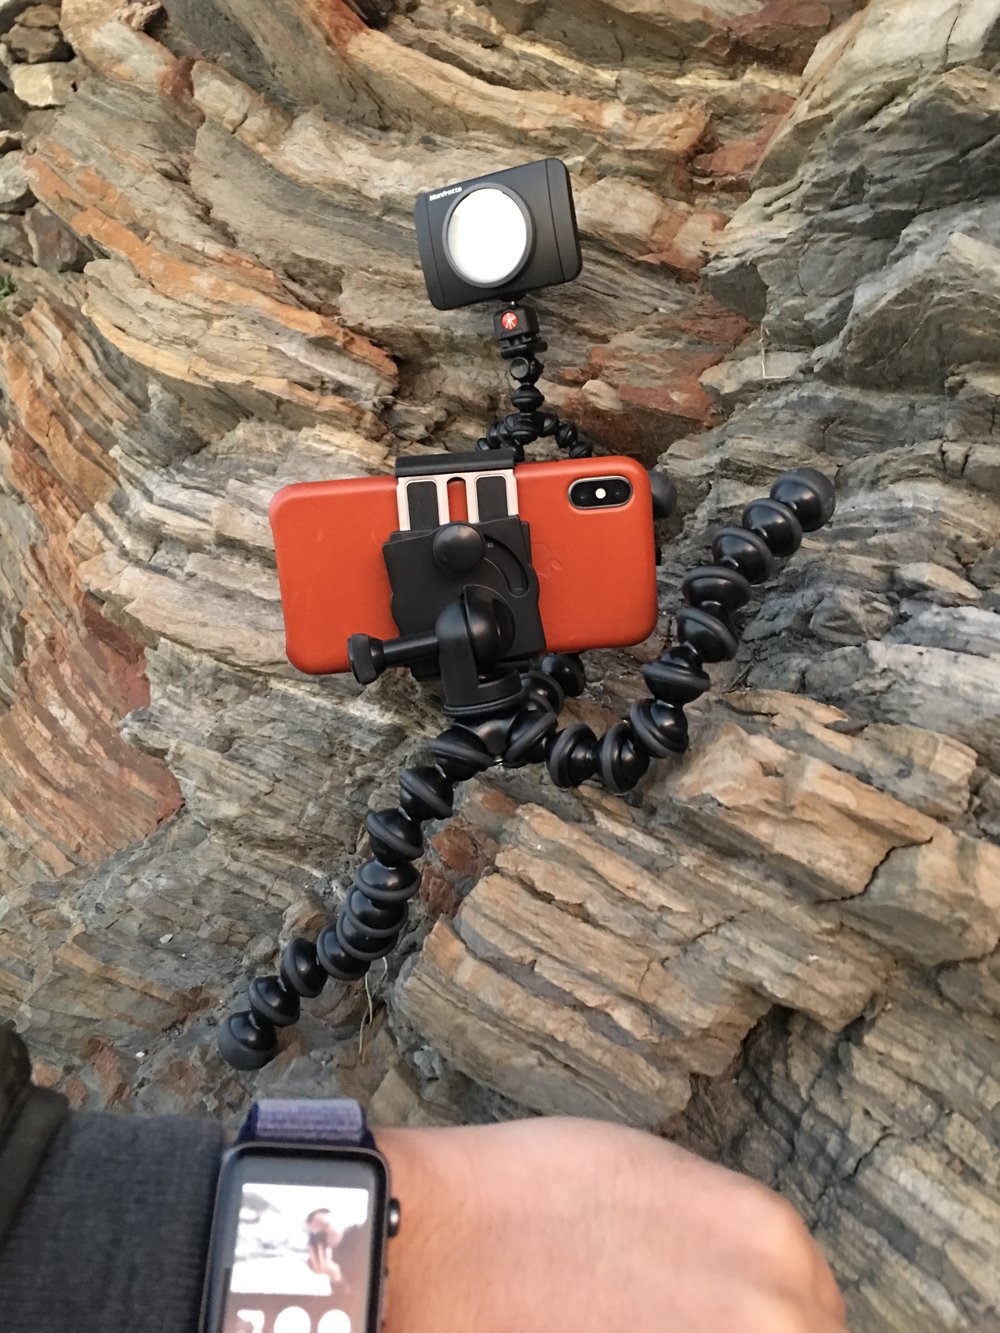
Stability everywhere.
- Make sure you’re using the new .heic format. Go to Settings -> Camera -> Formats and make sure “High Efficiency” is selected. This new file format is more efficient, supports 10-bit deep colour (less banding in your sunsets), stores live photo and depth data in one file, enabling you to tweak portraits down the line. Read more about it here.
- The base ISO of the iPhone sensor is 25. Be sure to set it to that if you’re shooting long exposures on a tripod using Lightroom or Halide.
- Get a Gorillapod to act as a stable surface. I travel with two. This one splits into two, allowing you to screw the head onto your regular tripod. This one is magnetic and allows you to attach onto lamp posts and railings. Make sure you check that your iPhone X is secured before letting go.
- Get a portable light for portraits during magic hour. I use the Manfrotto Lumimuse 8.
- Always expose for and start with the highlights when shooting in Pano mode.
- Consider buying an interchangeable lens system. I’ve reviewed Moment’s system here.
The best photography solution is the one you always have with you
There’s a saying that the best camera is the one you always have with you. Here at the tail end of 2017, I can comfortably say that the iPhone X is probably the best camera by that metric of being always with you.
However my point here is not about how one can take great photos with a smartphone camera. Anyone knows that. The iPhone X goes beyond that by being better at the job-to-be-done in just enough areas of where it counts.
With the stabilised nifty-fifty, noticeably improved image quality and a surge of high quality photography apps on iOS, it’s the best end to end photography solution that you’ll probably always have with you too.
I plan to write more posts on iPhone X photography in the future, let me know what you’d like to hear in the comments below. You can follow me on social media or the e-mail list below to keep up to date.
P.S. If you’ve made it this far, check out my review on Moment’s Interchangeable Lens system for the iPhone X.
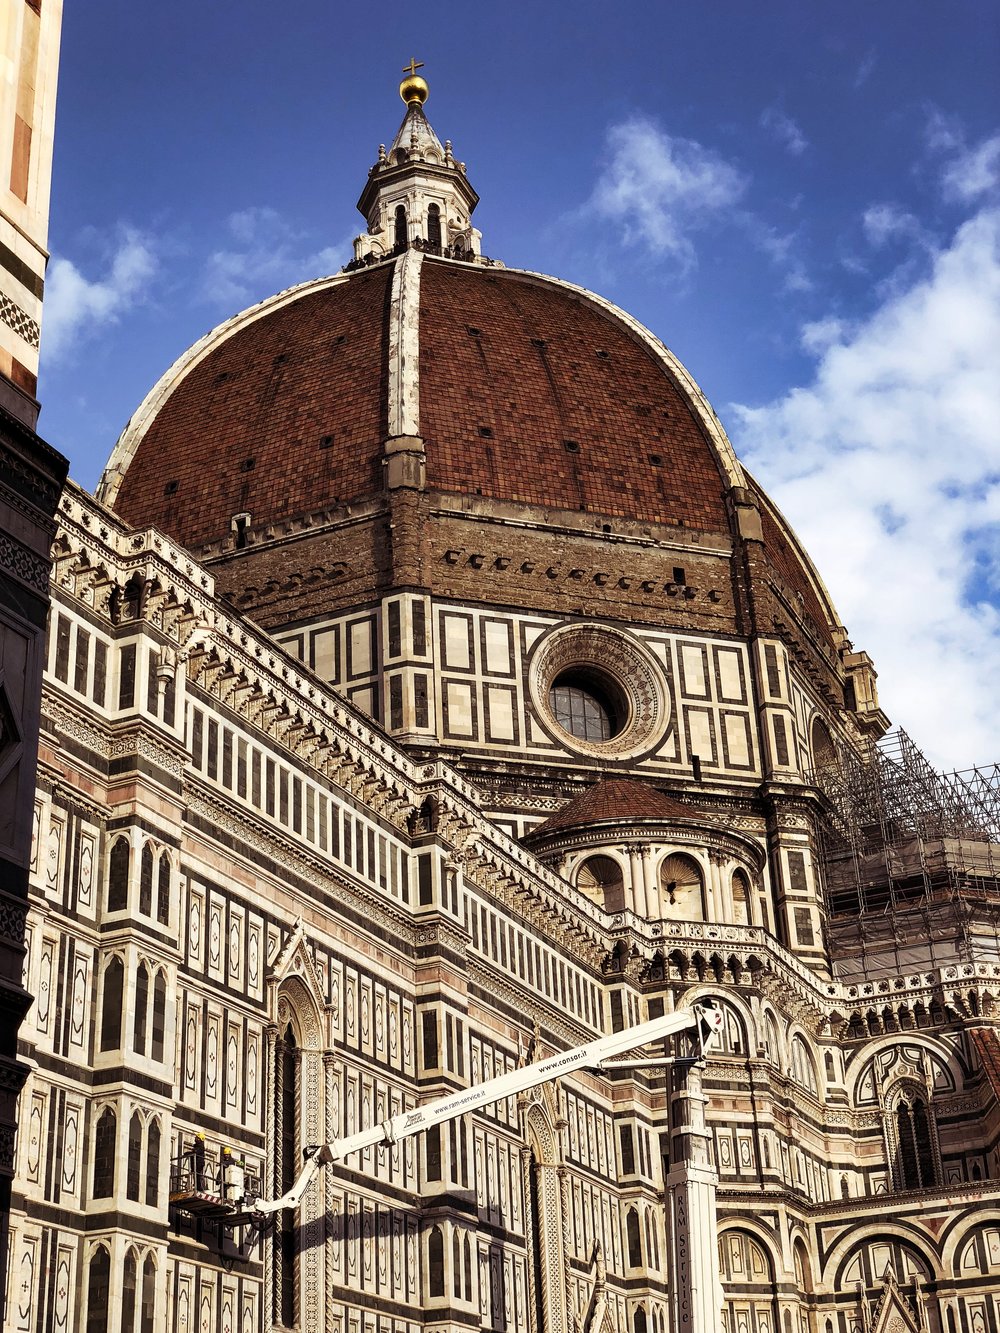
More posts in progress, just like maintaining the Duomo.
(Please excuse the brevity of this post, as it was completely written on the iPhone X too.)

Hi there, loved the review/article, thanks for posting! I just got the X and I’m headed to California in 2 days to try it out…debating bringing my "real" camera or not, but this makes me think I should have some fun with my new phone/camera.
I would love to see your future articles, and in the present, love to find out what you’re liking for apps… I’ve never heard of Darkroom or Halide, so I’ll check those out. I have LIghtroom Mobile on my phone but honestly have never used it. I was looking for an app that would let me shoot in the 3:2 ratio as I’m just so used to it and like it more than the 4:3 that the phones shoot in.
Looking forward to seeing what I get on this trip, and thanks for the inspiration!
Jayme, aka @jamesclifon on Instagram, where my California photos will end up!
Excellent article, thanks for posting