This post is part of an ongoing review of the Fujifilm X-T2 and its accompanying ecosystem. They are meant to be read in order. Contents will be updated as I think of new experiences to share.
- Bird Photography (this post)
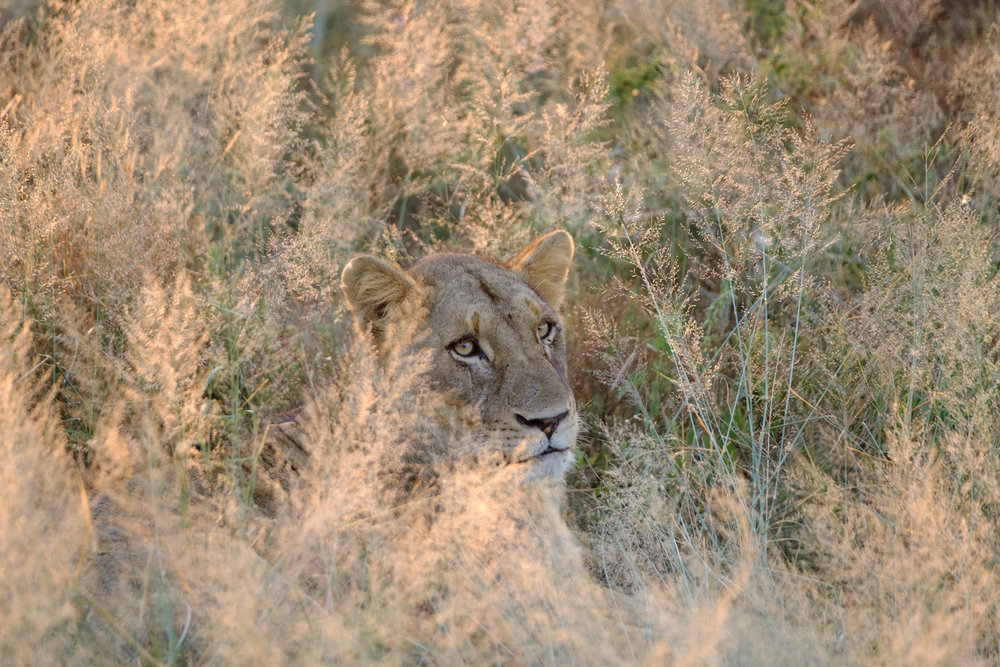
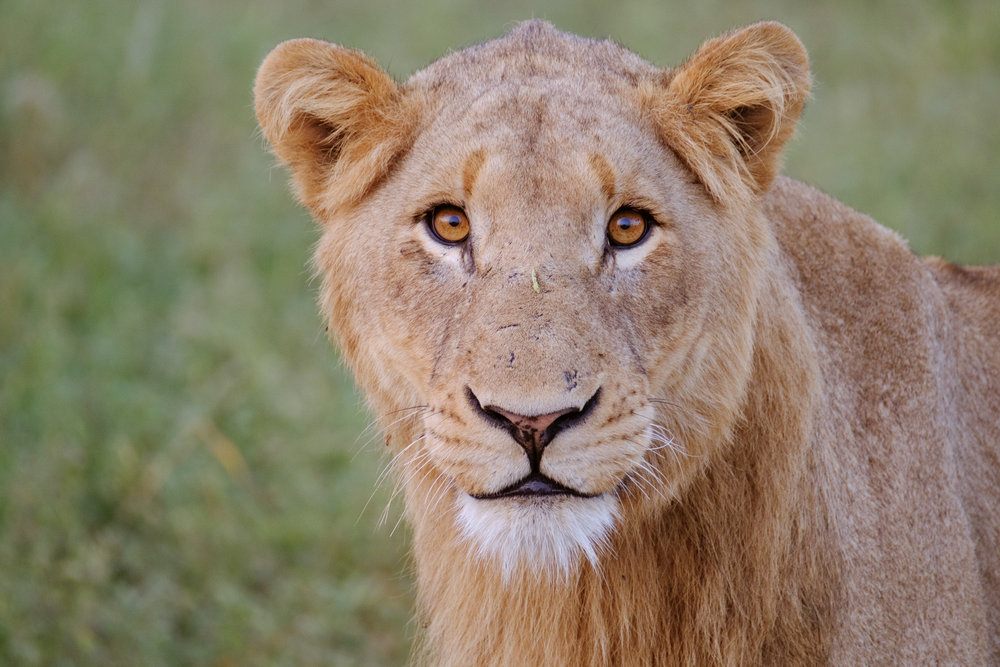
- Safari Wildlife Photography
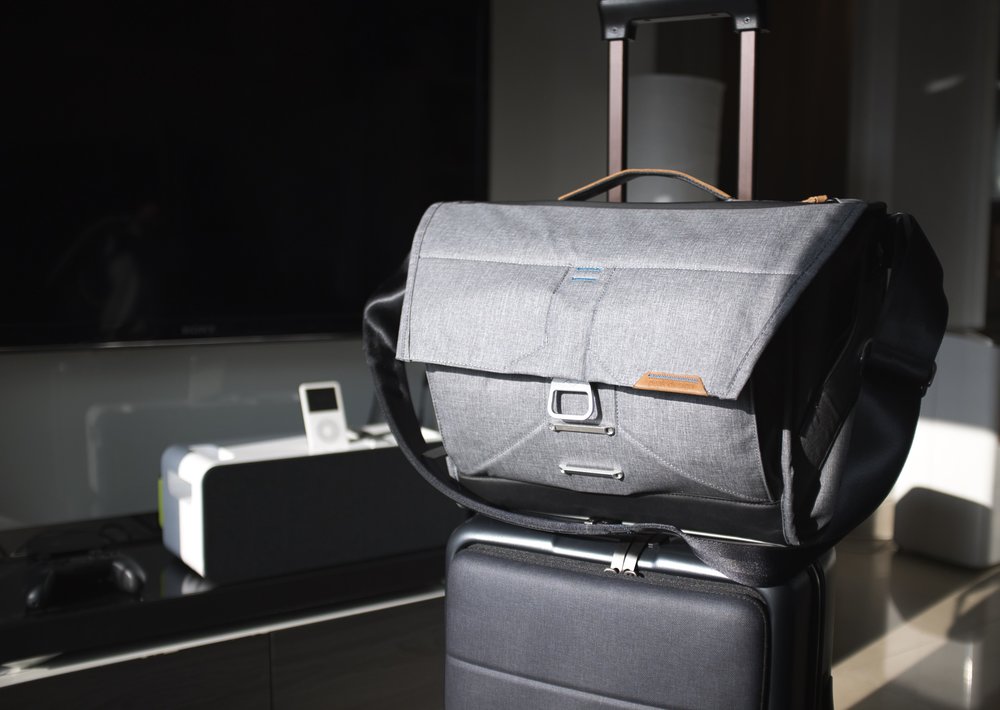
- Travel Photography (coming soon)
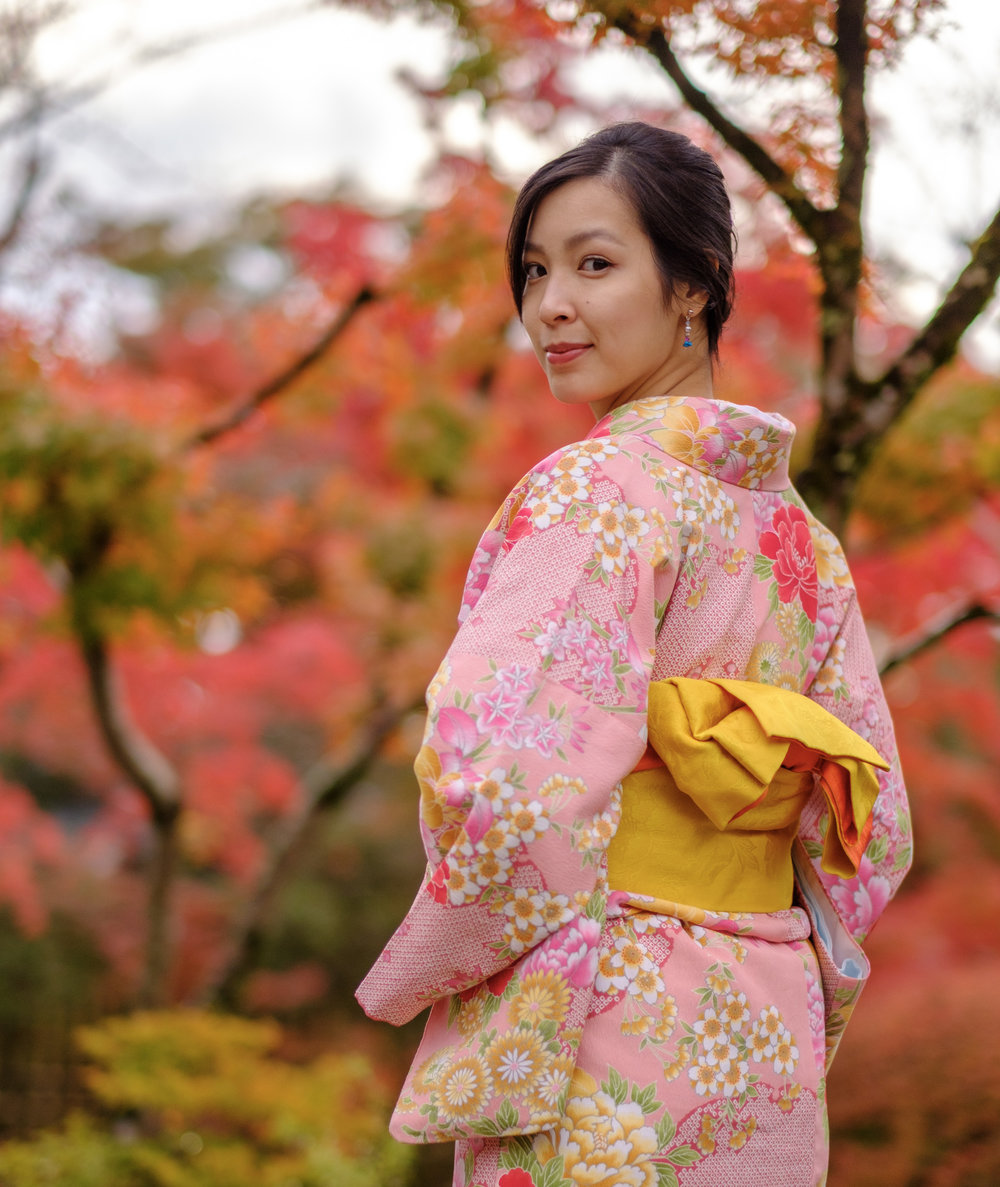
- Portrait Photography (coming soon)
- Tips and Tricks (coming soon)
- Fujinon XF100-400mm Review
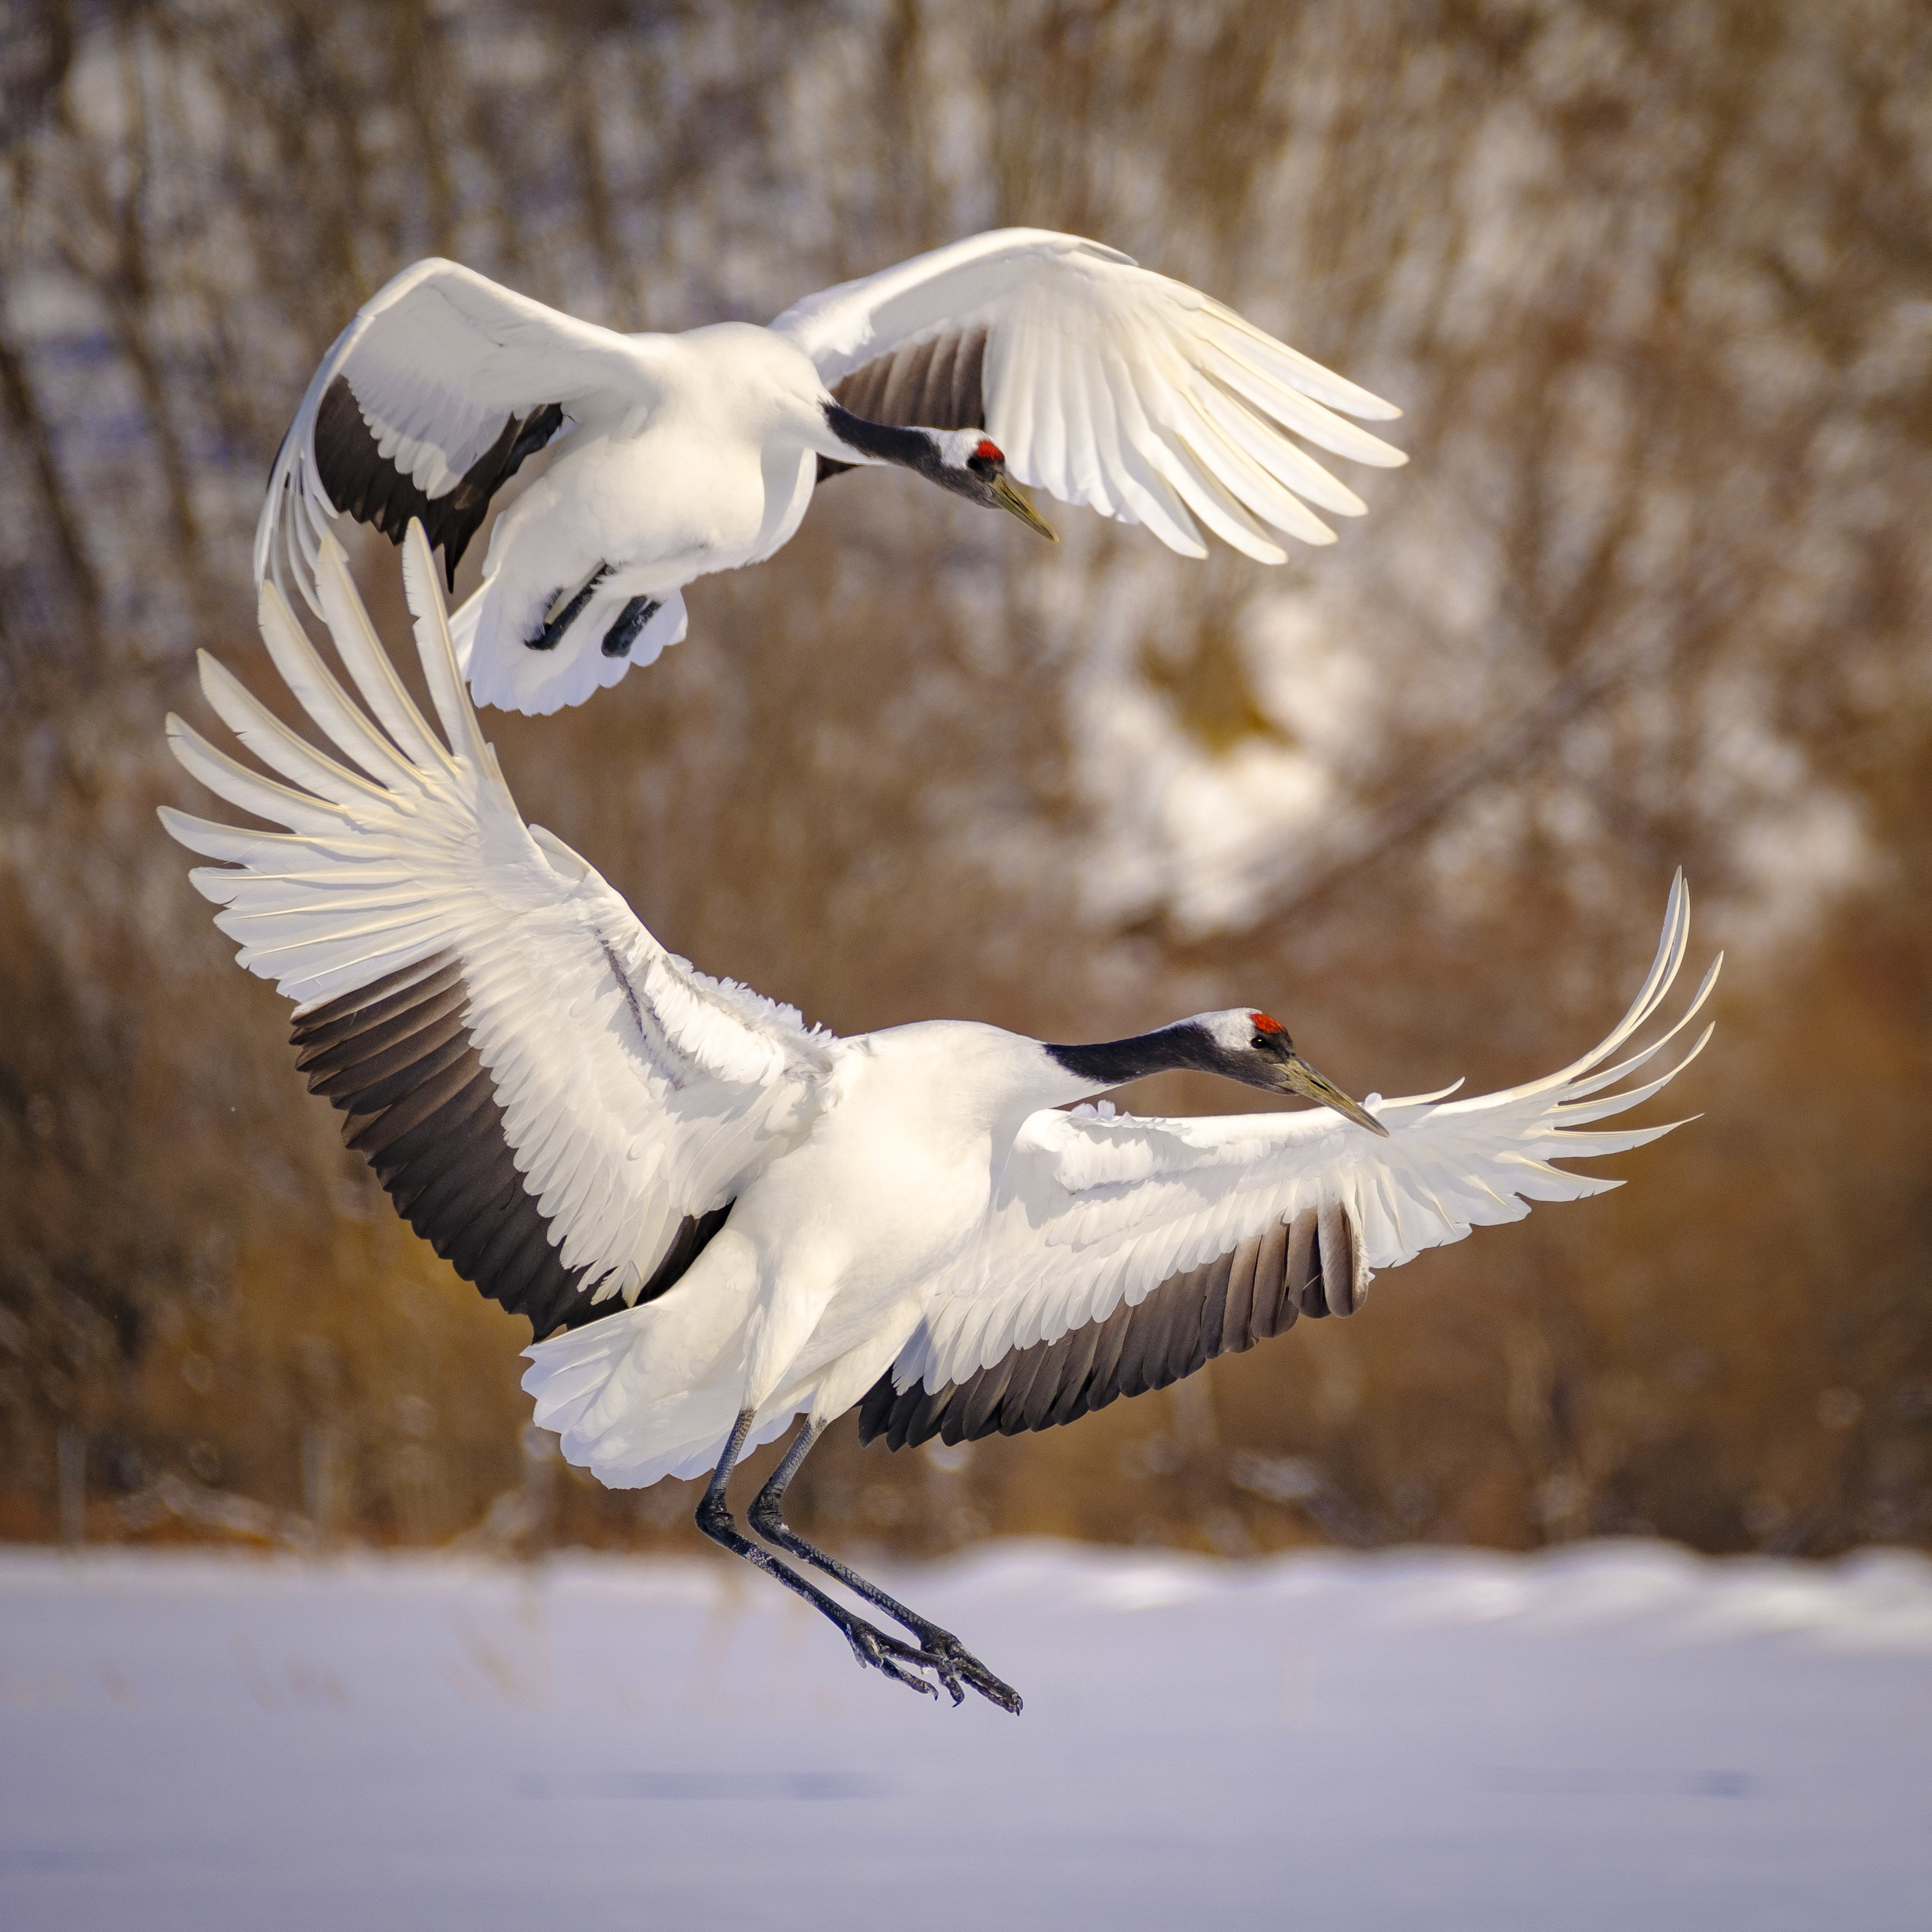
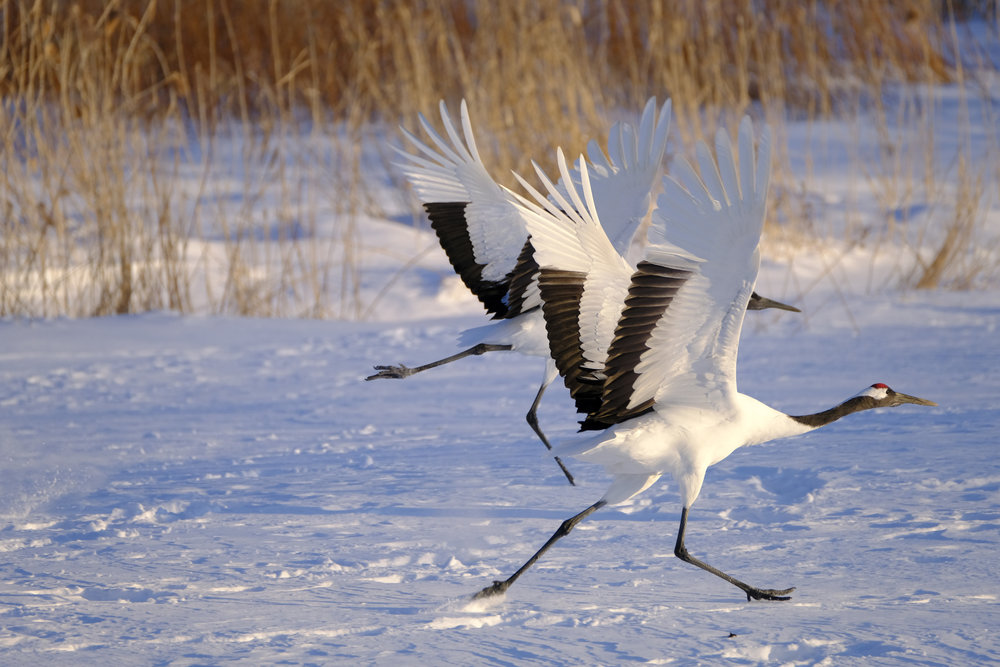
Red Crowned Cranes Coming in Hot – XF 100-400mm
Could the Fujifilm X-T2 finally be the mirrorless camera that can replace a Canon or Nikon for bird photography in a more handhold-able package? To find out, I took the X-T2 to Hokkaido, Japan to shoot Red Crowned Cranes, Whooper Swans, and Eagles.
This post will go through the fundamentals of a camera system that’s important for bird and wildlife photography and outline my experiences with the X-T2 through the lenses of those fundamentals. I will deep dive into camera settings and techniques in future posts, so please let me know if there are specific areas you would like me to cover.
In summary, there are many great things about the X-T2 that make it a viable or even better alternative to a Canon or Nikon DSLR for bird photography. The areas that need development can be addressed by Fujifilm in future bodies and lenses, or even firmware. Read on to find out…
Core Equipment
Let’s start with the equipment that I used for this trip. I’m posting some referral links along with them, if you find the content on this site useful, please support me by using them.
- Fujifilm X-T2 Body (x2) [Amazon US, Amazon UK, Adorama]
- VPB-XT2 Vertical Power Booster Grip (x2) [Amazon US, Amazon UK, Adorama]
- XF 50-140mm F2.8 R LM OIS WR Lens [Amazon US, Amazon UK, Adorama]
- XF 100-400mm XF100-400mm F4.5-5.6 R LM OIS WR Lens [Amazon US, Amazon UK, Adorama]
- XF1.4X TC WR Teleconverter [Amazon US, Amazon UK, Adorama]
- XF 10-24mm F4 R OIS [Amazon US, Amazon UK, Adorama] [My Review]
- Olympus Dot Sight EE-1 [Amazon US, Amazon UK, Adorama]
Autofocus
I used continuous autofocus with tracking most of the time. The burst speed was set to CH (11fps) with Boost Mode on the VPB-XT2 enabled. This limited the tracking zone to a square section in the middle of the frame. I also used back-button focus with the AF-L button and have disabled AF with the shutter half-press.
Acquisition Speed
Rating acquisition speed is a subjective issue, so I will explain my experiences in the context of several scenarios. Overall I never felt frustrated with the X-T2’s acquisition speed, though one could always do better with a faster speed.
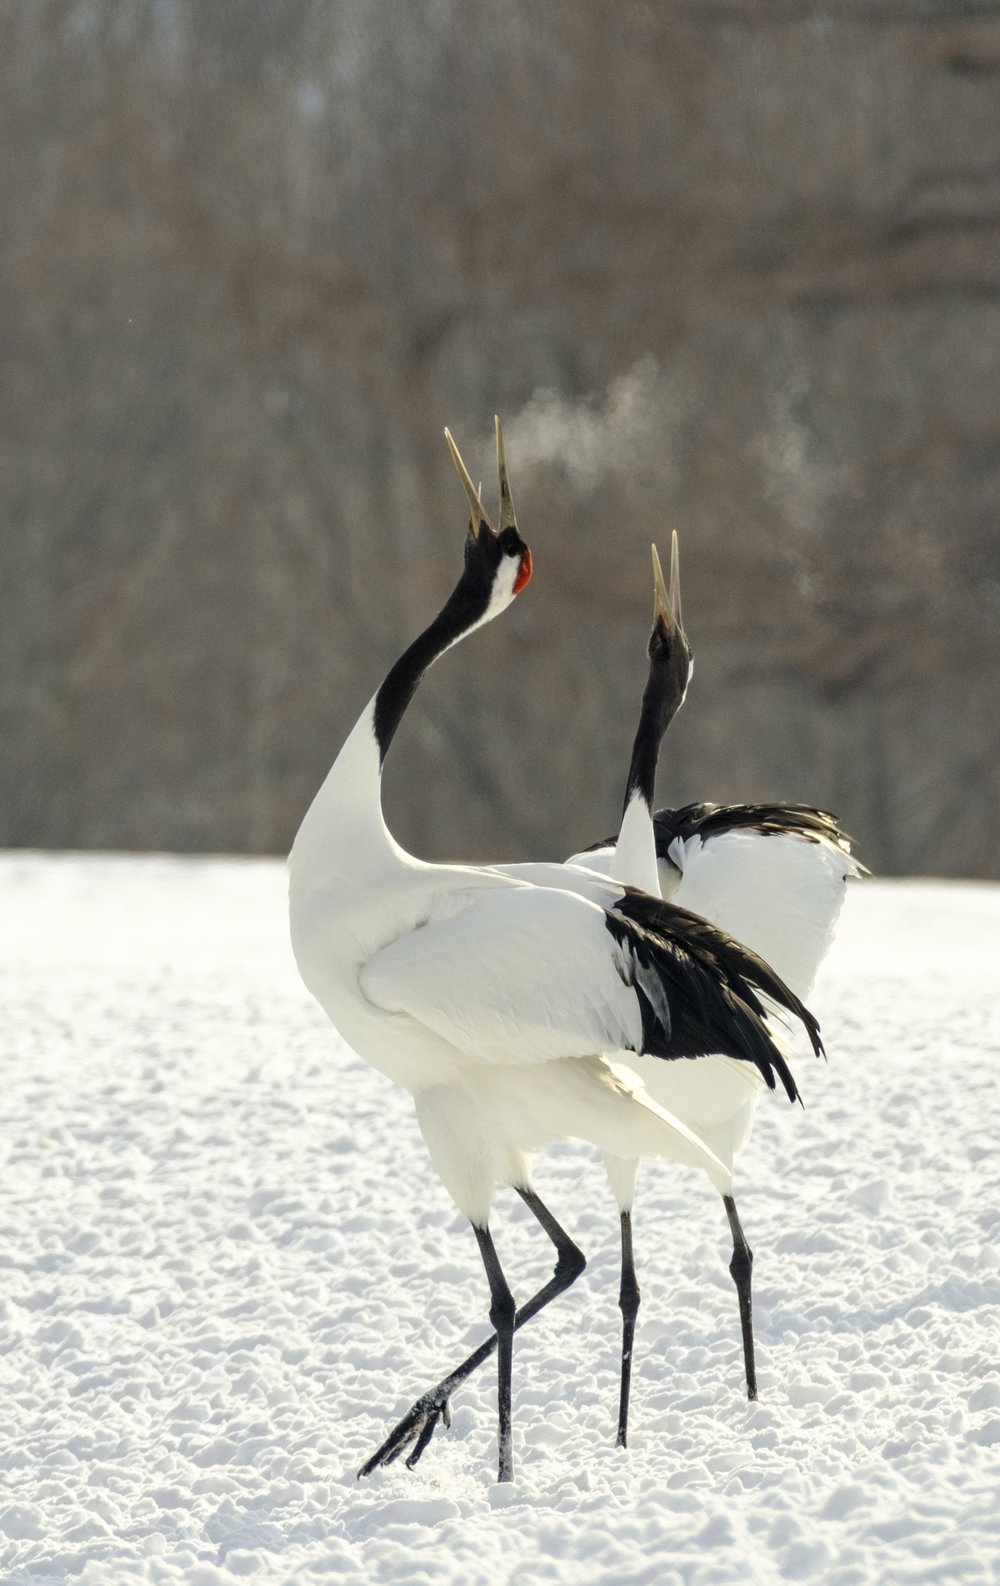
Relatively still birds like these were barely a problem – XF 100-400mm
With static birds on the ground or perched on a branch, the AF acquisition was almost instant. No frustration at all here.
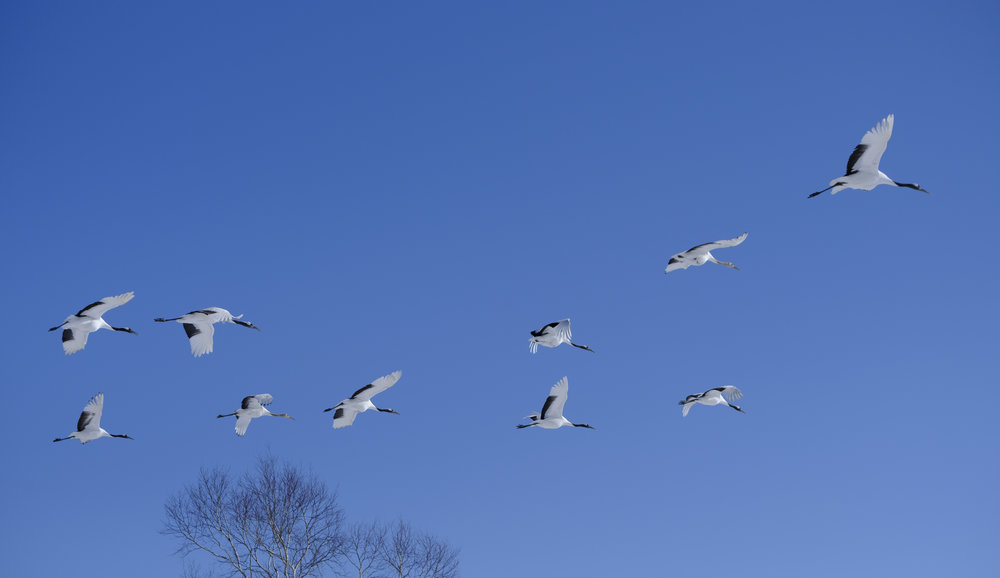
With birds in flight against a simple background like the sky, the AF acquisition was also almost instant 90% of the time. No frustration here either.
With birds in flight against a complex background like trees or other birds, the AF acquisition was instant approximately 70% of the time. The remaining 30% of the time resulted in hunting and the camera not acquiring focus for the entire burst. Take note that this varies greatly on the position of the subject relative to the initial tracking point, the contrast between the subject and the background and many other factors. At this point it became more about technique (which I will explain in a later post), so there was very little frustration for me here too.
Comparing lenses, the XF 50-140mm acquires focus slightly faster than the XF 100-400mm, but both still perform very well. Adding a the XF 1.4x TC slowed acquisition in both lenses down slightly, but nothing leading to frustration.
Tracking Accuracy
When the X-T2 locks properly on a subject, it stays on it. The trick is getting it to lock on the right subject. This is where the customisable Tracking settings come in. Due to the number of trees, birds and snow that tends to appear in between my subject and the camera, I shot mostly with Set 2: Ignore Obstacles & Continue to Track Subject.
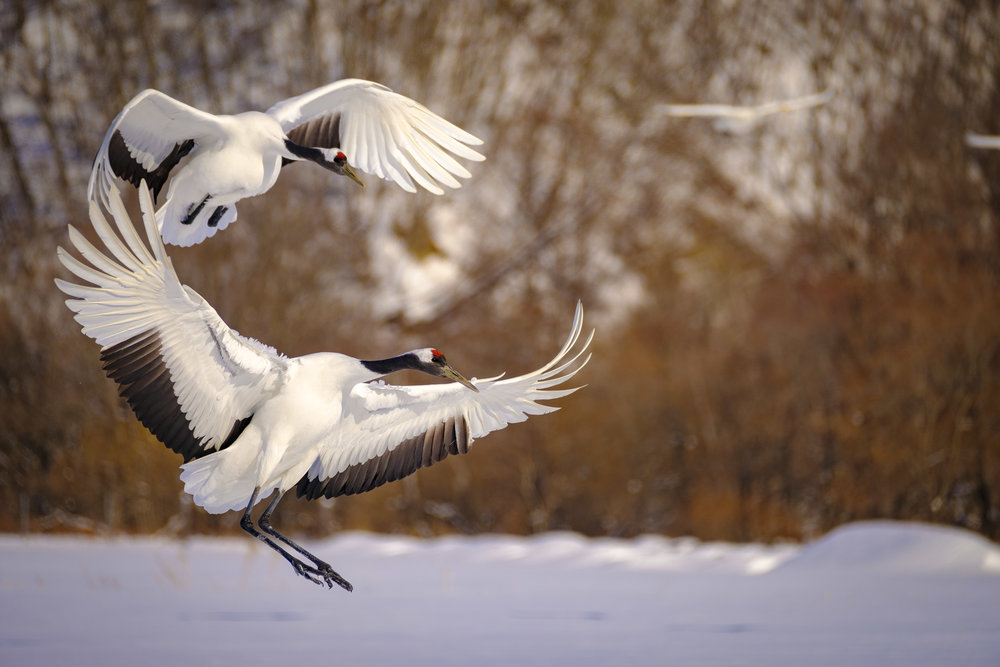
The AF system locked onto this young crane in flight even as it flew past an obstacle – XF 100-400mm
I shoot in bursts of 2 – 3 seconds and noticed that whenever the first shot is locked onto the appropriate subject, the entire burst is accurately tracked 95% of the time when not flying through obstacles.
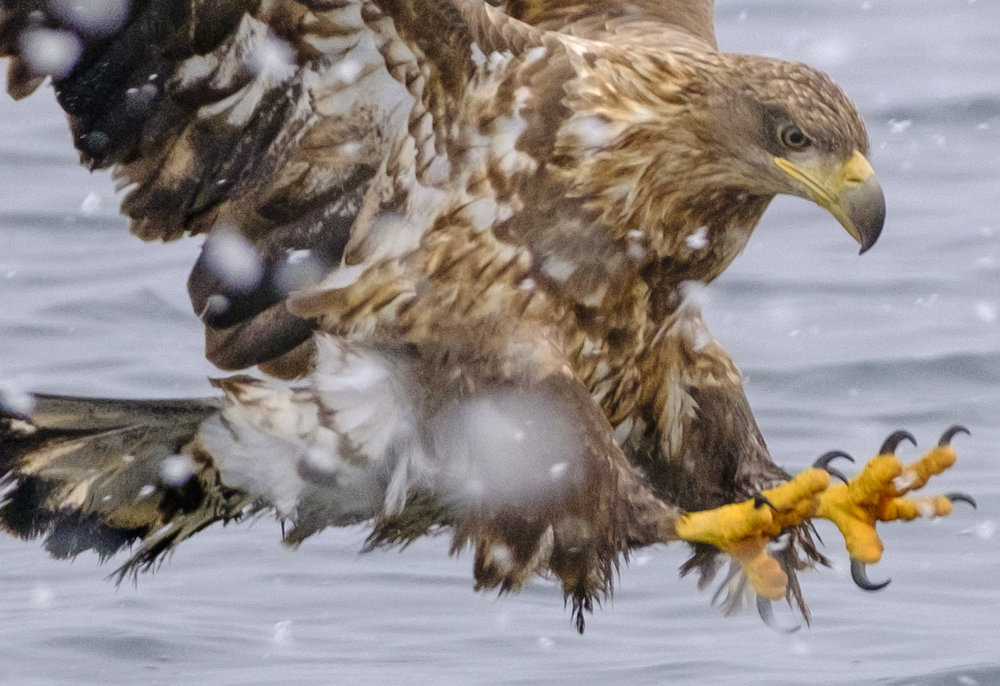
When the subject flies through larger obstacles such as birds or trees, it dropped to 80%. In the extremely challenging situation of shooting White Tailed and Steller’s Sea Eagles in heavy snowfall (flakes of about 2 – 3 cm), the tracking accuracy dropped to about 50%. This was challenging even with DSLRs like the 5D IV or the 7D II.
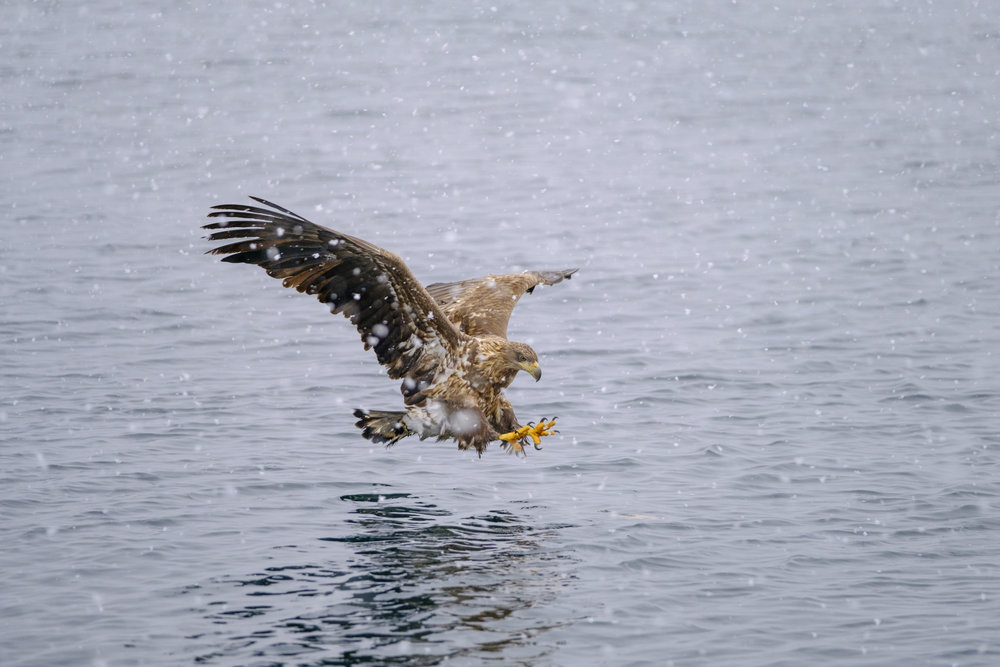
White Tailed Eagle coming in for a catch in heavy snowfall – XF 50-140mm
I did not notice a correlation between tracking accuracy and the lens used. Both performed very well on the X-T2 in my opinion. Similarly, adding the XF 1.4x TC did not seem to affect tracking accuracy even though it slowed acquisition down.
Small Apertures
One of the annoyances of using DSLRs like the 7D II is the limited selection of AF points you can use when using lenses with apertures smaller than F5.6. My dad’s 7D II had his AF points restricted to 5 in the centre when he used the EF 100-400mm IS II with a 1.4x TC.
Tracking a Steller’s Sea Eagle at F8? Not a problem – XF 100-400mm + XF 1.4TC
The Fujifilm system does not limit you to any of that, all of its phase detect AF tracking points even when using the XF 1.4x TC on the XF 100-400mm. Acquiring focus does take a slight hit, but at least you still have the focus points.
Ergonomics
Electronic Viewfinder
Shooting birds often means pointing your camera at the sky, and then at the ground a few seconds later. This can be extremely tricky for a camera’s automatic exposure system, it’s no surprise that many professionals recommend shooting in full Manual mode. Many pros also recommend exposing to the right, i.e. pushing your histogram to the right until blinks disappear from your subject.
Looking through the EVF gives you the image with a preview of exposure. It’s also big and bright enough to determine if your AF acquired on the right subject. These are two huge advantages because it means you do not have to take your eyes off it and review images on the LCD as often as you would on a DSLR.
One of the reputed downsides of an EVF is the blackout period between captures. Basically a blackout period will make it much harder for you to pan and track a subject to keep it in the frame. Fujifilm claims to have reduced this greatly with Boost Mode. From my experience, blackout periods were not an issue unlike other mirrorless cameras. In fact, I didn’t notice them at all.
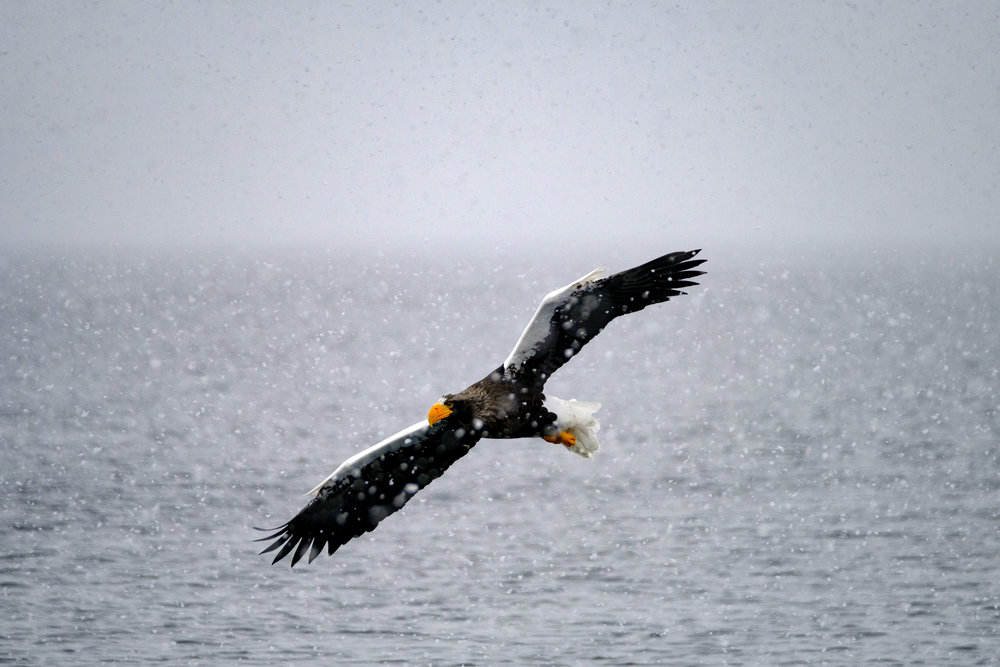
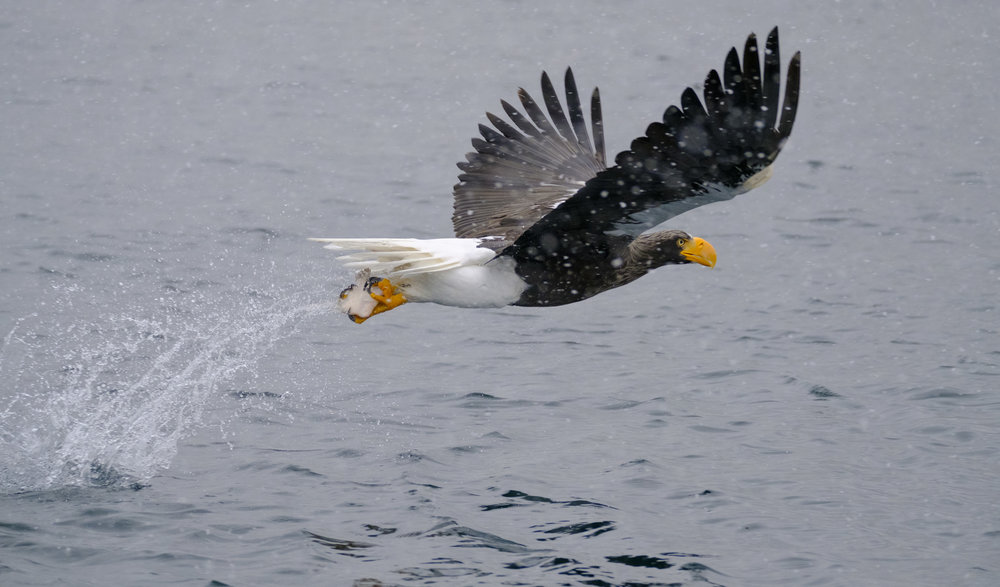
Blackout periods were so short that I could track this Steller’s Sea Eagle with minimal difficulty – XF 50-140mm + XF1.4x TC
My only complaint with the EVF, was the review system. You could only see blinkies in the detailed view mode, which had the image shrunk to about 1/4 of the screen size. Fujifilm, please implement blinkies in other view modes as well.
Dedicated Physical Controls
It’s awesome to have direct access to ISO, Shutter speed and Aperture in the form of dials. I control exposure primarily by ISO, followed by shutter speed, so it’s nice to have independent dials to turn for instantaneous changes without having to fumble with Fn buttons.
You can also switch between single, continuous low and high burst rates with a flick of a switch. Genius.
Handheld Experience
One of the pros of using the Fujifilm system is the reduced weight that comes with the bodies and lenses. Their Image Stabilisation systems also yielded about 5 stops effective IS for me on both lenses. Take a look at the Blakiston’s Fish Owl image further below, taken in almost complete darkness.
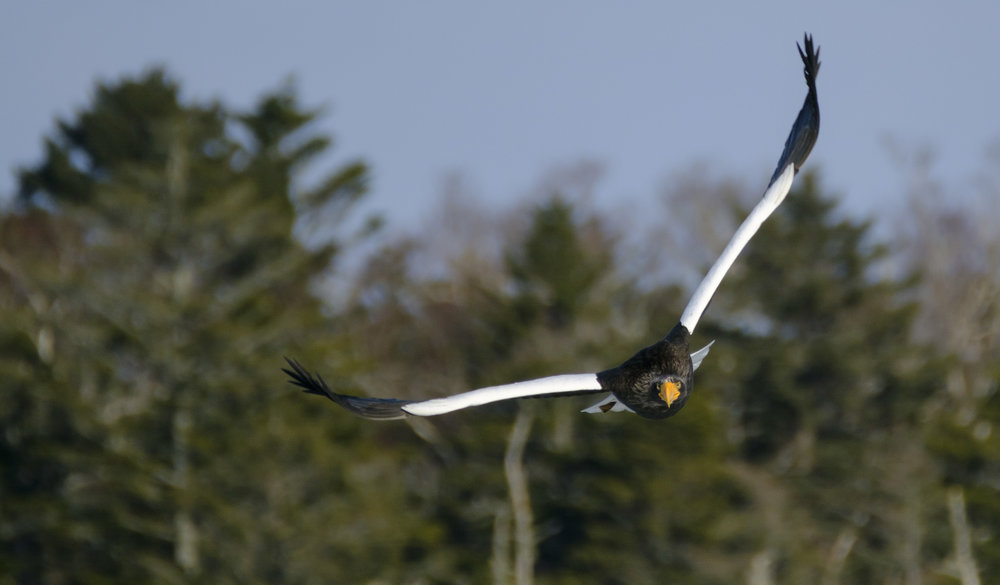
Pairing the XF 50-140mm with the X-T2 and VPB-XT2 grip results in a well balanced package that you can handhold with minimal effort. The same minimal effort applies when you add the XF 1.4x TC. It’s almost unbelievable that such a small package can yield performance similar to a much bigger DSLR.
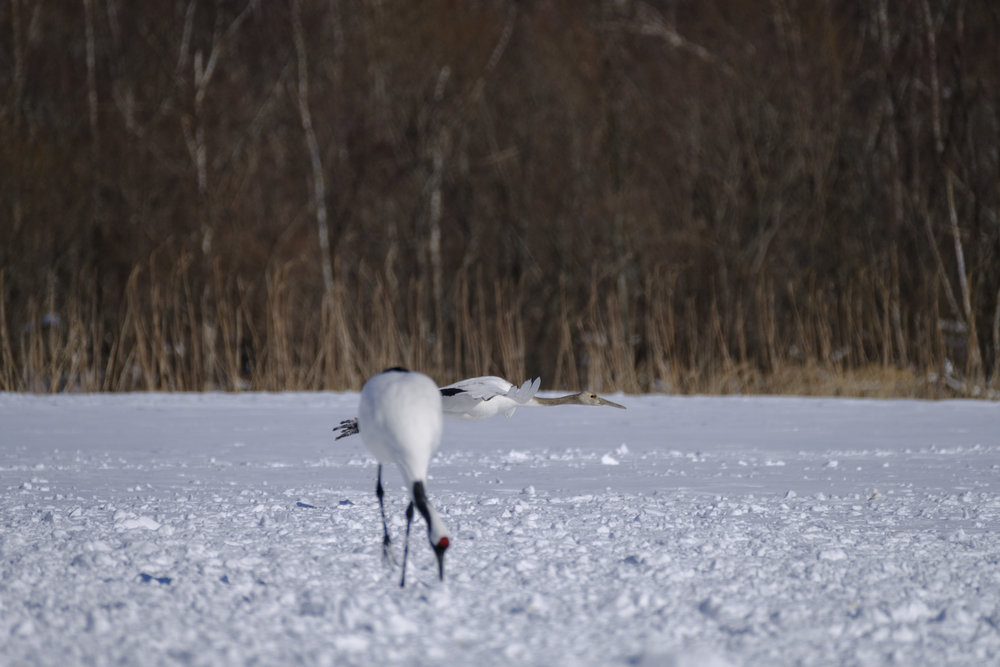
Constantly having the XF 50-140mm slung prepared me for unexpected flybys like these
Pairing the XF 100-400mm with the X-T2 and VPB-XT2 also results in in a well balanced package that you can handhold easily for 5 – 10 minutes at a go. It becomes a bit front-heavy with the XF 1.4x TC, but still very manageable.
That said, I would still recommend placing the XF 100-400mm on a tripod and slinging a secondary body with the XF 50-140mm if you are going to be at the same location for hours.
Handling with Gloves
This is often overlooked in most reviews, yet extremely crucial to get shots when you have to respond to changing conditions. I used a two layer system of gloves, a pair of Outdoor Research Pl 100 gloves and a thicker pair of Mittens I bought from Japan. My hands fit size L gloves.
I’m pleased to report that with the inner pair of gloves, I was able to easily trigger the shutter, AF-L, change shutter speeds, ISO settings etc. very easily. Towards the end of the trip, I was even able to trigger the shutter and AF-L with the mittens. Fujifilm’s excellent ergonomics live up to their reputation, even when wearing gloves.
One suggestion for improvement would be to raise the AF-L button to give it more tactile feedback and move it away from the edge. This will make it less tiring as you would no longer have to “mash” the button due to a lack of feedback.
Image Performance
Crop from White-Tailed Eagle image above @ ISO 1600
Sharpness
Fujifilm’s lenses are known for their sharpness, so no surprises here. Just make sure you lock onto the subject accurately.
Take a look at the crop from the eagle image above, it’s pretty impressive at ISO1600.
Colour and Dynamic Range
I recommend setting your X-T2 on the Velvia film simulation for birds to bring out their colour. Fujifilm have a colour rendition pedigree from the film era, and most people would consider their colour rendition well desired.
Colours and Dynamic Range are pretty well rendered in this out of camera JPEG
Dynamic range is very good coming from the X-Trans sensor, definitely on par or better with Sony’s other sensors.
Take note that Lightroom will revert DR400 or DR200 to DR100 on RAF files. This does not cause any loss in image quality, just some annoyance when you see your RAF files seemingly underexposed when compared the JPEGs before you perform any push/pulls.
High ISO Performance
We came across this Blakiston’s Fish Owl in almost total darkness, our eyes could only make out its outline. I was blown away by the High ISO performance in low light. The below shot was taken at ISO 25,600 and straight out of camera.
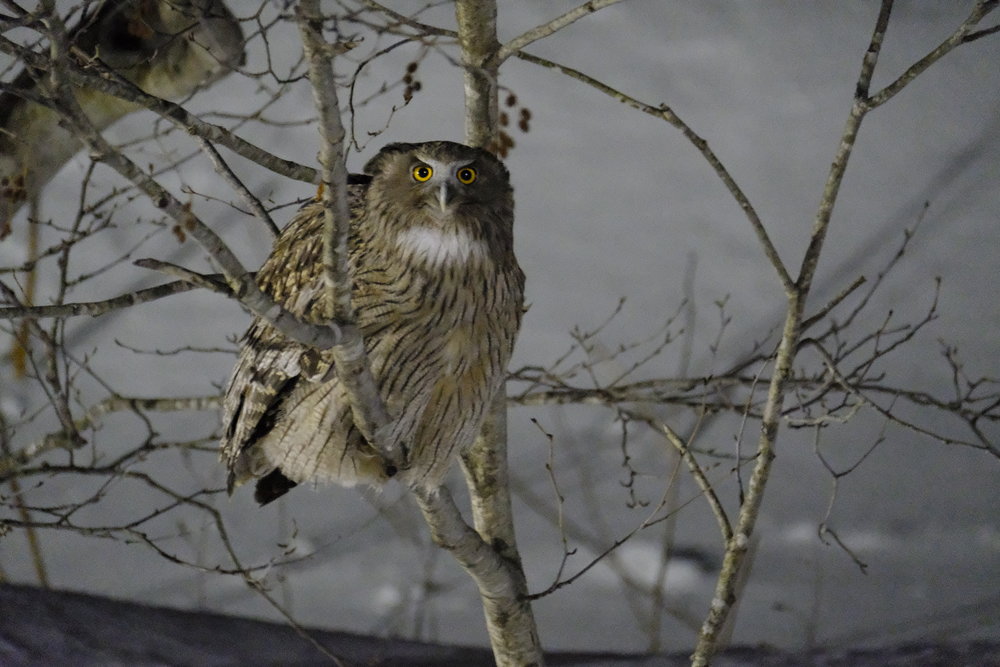
Blakiston’s Fish Owl – XF 100-400mm @ 400mm F5.6, ISO 25,600, 1/15s handheld
Lenses
The current lineup is adequate for a handheld package. The advantage that Fujifilm has over Canon and Nikon is that it can design its lenses exclusively for the APS-C format. The XF 50-140mm F2.8 is a great example of taking a 70-200mm F2.8 equivalent and shrinking it down to a much portable package. Of course, you don’t get the same shallow Depth of Field on a Full Frame camera, but when comparing APS-C to APS-C, it’s a pretty good advantage portability wise.
The XF 100-400mm on the other hand is strange because it’s almost as heavy as the Canon EF 100-400mm F4.5-5.6L IS II (1436g on the Fuji vs. 1570g on the Canon). Maybe the IS performs better on the Fuji? Whatever it is, you don’t get any weight savings here.
I hope Fujifilm starts developing large aperture telephotos for the APS-C format, a high quality 300mm F2.8 or a 500mm F4 designed for the APS-C format is a big unaddressed gap in the current market. Canon and Nikon’s telephotos are designed for the Full Frame systems, which means that it’s over-engineered and overweight when used on an APS-C body.
Burst Performance
Continuous high rates can be set to 11 or 8 fps and continuous low rates can be set to 5 or 3 fps. I had mine set to 11 and 5 respectively. The dedicated switch for burst modes allow you to switch between modes instantaneously, thereby allowing you to save memory when shooting more static subjects.
I shoot in bursts of 2 – 4 seconds and feel the buffer filling up starting at about 3 seconds, this is with RAW saved in slot 1 and JPEG saved in slot 2. The buffer clears very quickly when used with UHS-II cards, something that Canon has not supported even on its 5D IV.
The large buffer allowed me to track eagles from diving all the way to catching. – XF 100-400mm
Battery Life
An X-T2 with a VPB-XT2 allows you to use 3 batteries simultaneously. In boost mode, they lasted easily throughout 4000 shots (8000 if you count the JPEGs saved into slot 2) when I was photographing the Eagles in -10C weather.
I suspect the system uses the left battery in the grip as a primary and the battery in the camera as a secondary during boost mode. The primary battery switches to the right battery once the left one runs out. This makes it simple to track which ones need charging.
The NP-W126S batteries are poorly insulated when compared to Canon, Nikon or even Sony batteries, I found that my batteries got frozen a lot quicker than fellow Canon shooters when left idle. This was a minor annoyance, so just keep the batteries in your pockets while waiting for that sunrise.
Charging the batteries through the VPB-XT2 was extremely fast, it takes less than two hours to charge two batteries from zero percent.
Conclusion
To summarise, I found the X-T2 system more than adequate for amateur bird photography. The downsides traditionally associated with a mirrorless camera like EVF blackouts have been eliminated, and AF tracking is on par with the latest DSLRs. I would even go so far as to say that the EVF is now an advantage over a traditional EVF. I will not be switching to a DSLR like a D500 or 7D II anytime soon, possibly ever for wildlife photography.
Fujifilm needs to develop more fast wide-aperture telephoto lenses to secure this market, I also happen to think that fast telephotos for APS-C are a huge gap in the market at the moment. So Fujifilm, please give us a 300mm F2.8 or a 500mm F4 in the near future 😁.
Pros:
- Boost mode virtually eliminates all shortcomings associated with mirrorless cameras for high speed shooting.
- Customisable AF Tracking system on par with modern DSLRs.
- AF Tracking points not as limited as modern DSLRs for apertures smaller than F5.6.
- Lenses like the XF 50-140mm prove that there is a portability advantage in focusing on lenses for APS-C.
- Velvia film simulation yields desirable colours for wildlife.
- Stellar high ISO performance.
- VPB-XT2 doubles as a fast dual battery charger.
- XF 1.4x TC slows down AF very minimally.
- UHS-II SD Card support for very quick emptying of buffer.
- Large buffer depth, adequate for continuous sets of bursts.
Cons:
- Lack of fast telephoto lenses (as of now).
- Batteries are not well insulated.
- Ergonomics for AF-L button could be improved.
- Lightroom doesn’t process DR400 RAF files with its default dynamic range.
I hope you found the initial analysis useful, please let me know in the comments below if there’s a particular topic you’d like me to deep dive on.
If you’re looking to buy any of the items in the review, please support me by using my affiliate links below.
- Fujifilm X-T2 Body (x2) [Amazon US, Amazon UK, Adorama]
- VPB-XT2 Vertical Power Booster Grip (x2) [Amazon US, Amazon UK, Adorama]
- XF 50-140mm F2.8 R LM OIS WR Lens [Amazon US, Amazon UK, Adorama]
- XF 100-400mm XF100-400mm F4.5-5.6 R LM OIS WR Lens [Amazon US, Amazon UK, Adorama]
- XF1.4X TC WR Teleconverter [Amazon US, Amazon UK, Adorama]
- XF 10-24mm F4 R OIS [Amazon US, Amazon UK, Adorama] [My Review]
- Olympus Dot Sight EE-1 [Amazon US, Amazon UK, Adorama]
This post is part of an ongoing review of the Fujifilm X-T2 and its accompanying ecosystem. They are meant to be read in order. Contents will be updated as I think of new experiences to share.
- Bird Photography (this post)
- Safari Wildlife Photography
- Travel Photography (coming soon)
- Portrait Photography (coming soon)
- Tips and Tricks (coming soon)
- Fujinon XF100-400mm Review
Featured


Thank you. Great info. I am moving from a Fujifilm HS50 (which is an amazing camera for what it does) to the DLSR or Mirrorless world. I am a nature photographer and my style is to go light and get into nature without lugging a lot of "stuff" with me. The smaller mirrorless cameras appealed. Your article here answered the questions i have been asking myself. Thanks again.
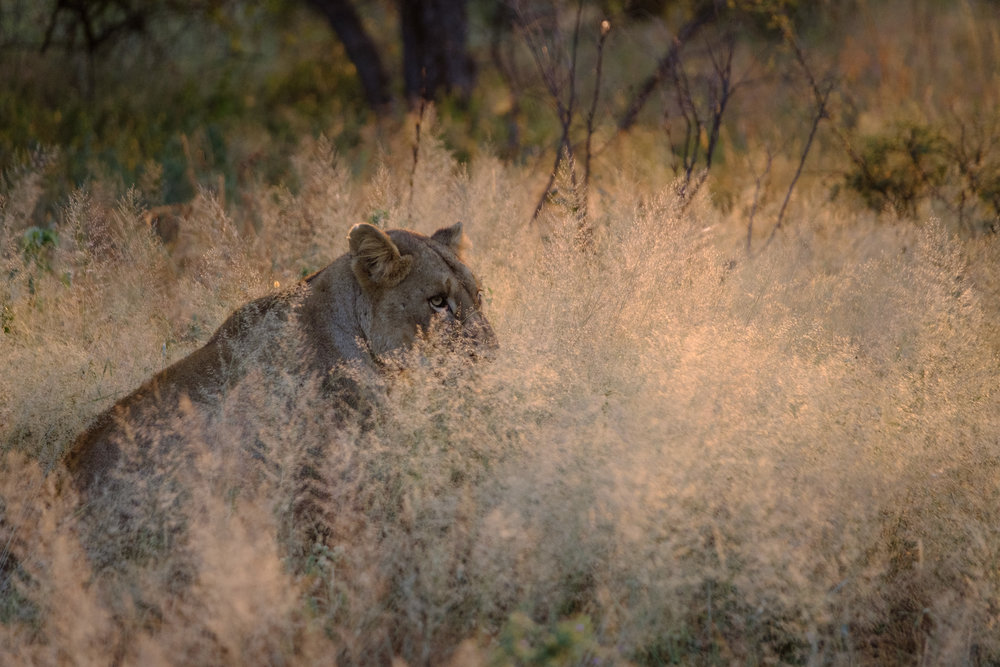
Thanks for the kind comments Mark, I hope you enjoy the new purchase. I took the cameras to the Kruger a few months after and have some more experiences to share in a future post, it’s not perfect, but given the weight savings it’s well worth the switch!
I have been shooting with DSLRs for years and am now considering going mirrorless. Great to see that the X-T2 performs well in photographing birds. Thanks!
Mark
Thanks for your blog. I’m thinking of changing from Canon to Fuji and found it really helpful.
You say ‘Lightroom does not process DR400RAF files within its dynamic range’
Please could you explain this in layman’s terms . Is it a big deal? How do you get round it?
Thanks
Hi Mark,
In simple terms, the image that you see on Lightroom will most likely not be the same as what you see on the camera. You can get around it by recovering the highlights manually, but it still may not result in what you see on the camera.
Here’s an excerpt from Rico Pfistinger’s book to explain further:
"Lightroom and Adobe Camera Raw are also smart enough to recognize RAWs with extended DR settings, and they automatically push the RAWs up 1 or 2 EVs when the images are opened with the software. However, recovering the highlights isn’t an automated process; it’s the user’s job. Sadly, this can become pretty tedious because Lightroom’s exposure-related sliders work in a different way than Fuji’s tone-mapping. Even worse, DR200% isn’t recognized if the shot was taken in DR-Auto mode. This means that the image will look underexposed by 1 EV after importing it. To see the image with its correct brightness, you have to move the exposure slider one stop to the right. Hopefully this bug—which equally affects the X-Pro2—will have been fixed by the time you read this"
Thanks for swift and helpful reply Nanda